|
|
Post by Jet⚡Black on Dec 21, 2012 20:42:35 GMT -6
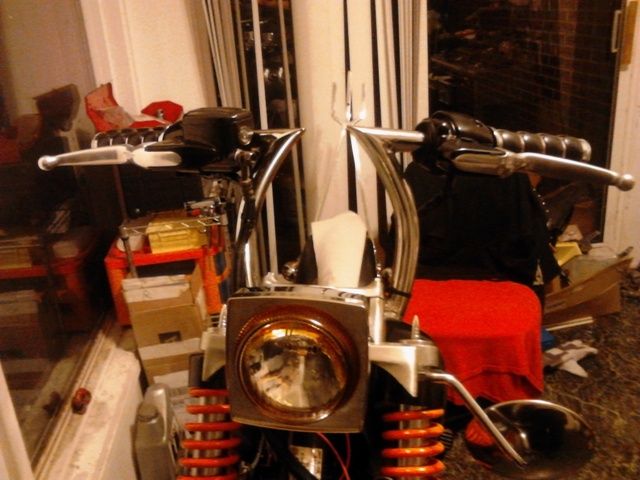
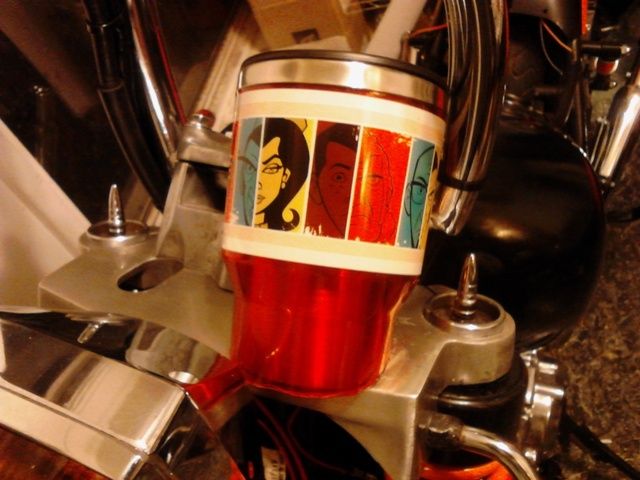
Ok it's been awhile, I tore a tendon; so I was out of building mode it's finally better, so update time again... Sissy Bar 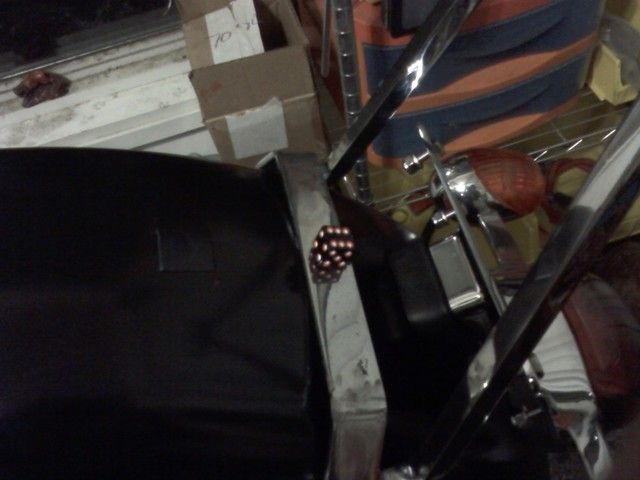 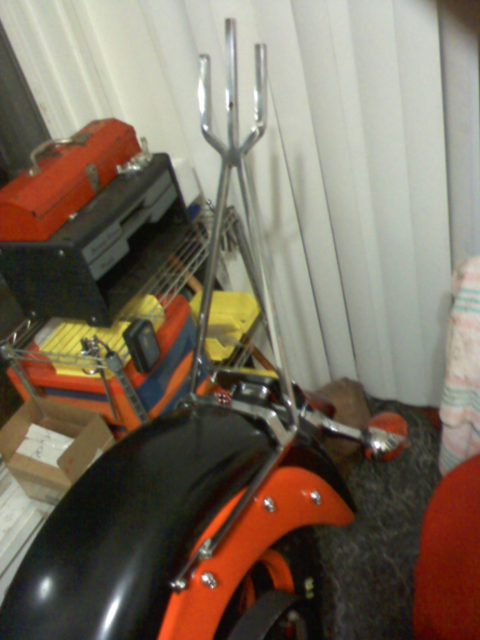 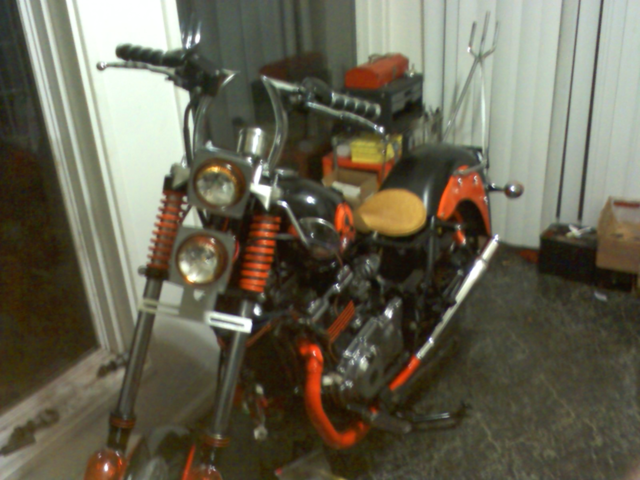 Marker lights 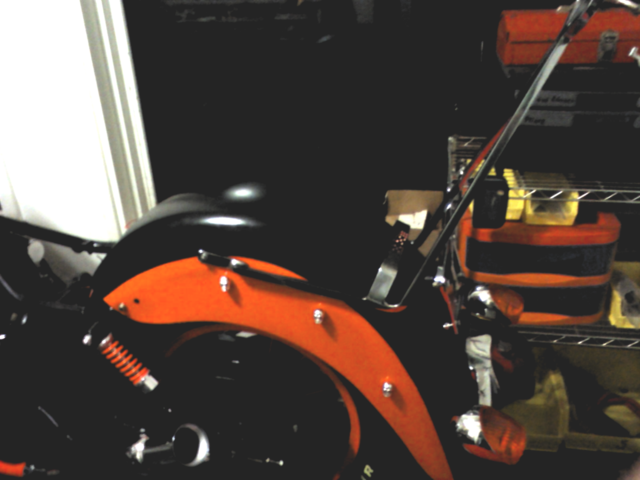 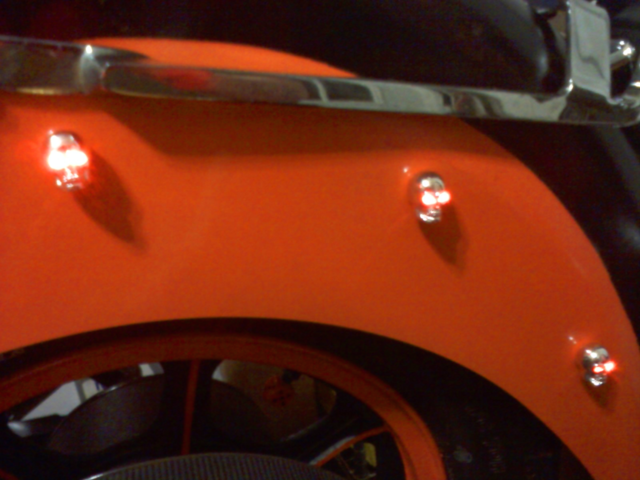 Happy Holidays |
|
|
|
Post by bmwpowere36m3 on Dec 21, 2012 21:59:54 GMT -6
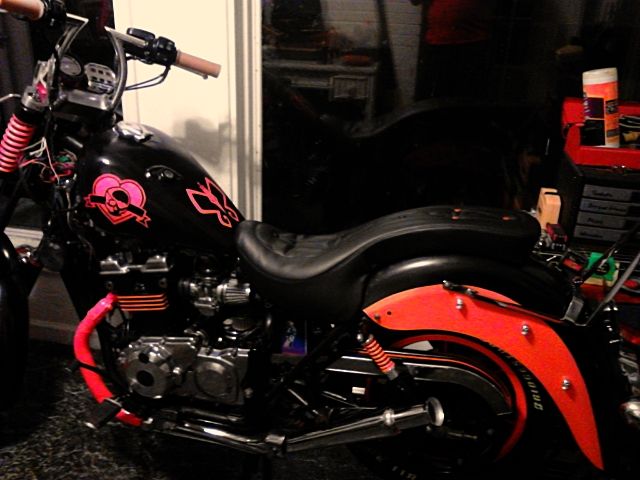
Great build... really in your face paint scheme!
|
|
|
|
Post by Jet⚡Black on Dec 23, 2012 1:25:53 GMT -6
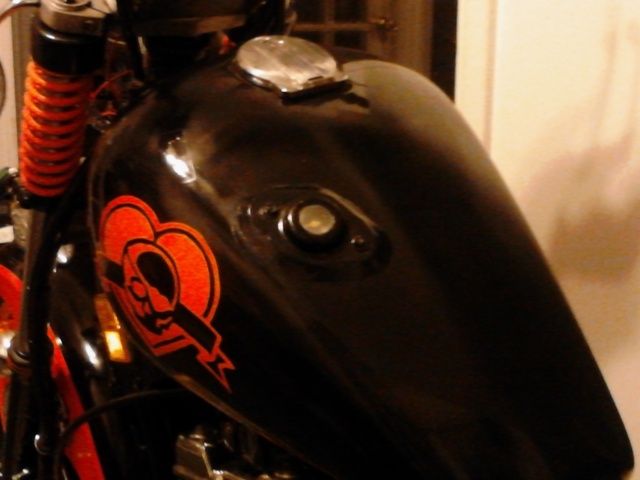
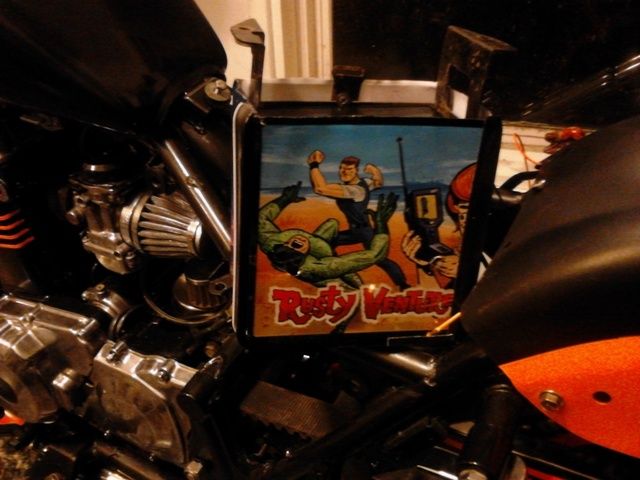
Hazard orange was picked as a sneaky safety feature; hopefully cagers will take notice of it as a warning sign, that's loud and on two wheels. I'm partial to orange so that helps too, on my small CA95 people are always making lefts in front of me or pulling out; keeping me covering my levers in high alert mode...when I want to be able to relax a bit and just actively scan as normal.
On constant guard because; going unnoticed by cagers is far from relaxing. I think people mistake my Honda for a slow moving moped, or don't see it at all; judging by the maneuvers they pull even when they make eye contact...it's like wanting to be in front of a bus before a lane drop, or first at a drive through for a big mac, to keep that cell phone hole occupied. Their second thought snap decision to gun it; happens across my front wheel way too much around here. So hopefully this paint/pipe scheme makes that second thought turn into wait instead...I'll be putting a better horn on it too before it's on the road.
Let's just say the; "I didn't see him coming" defense will fall apart with one glance or photo. ;D
|
|
|
|
Post by Jet⚡Black on Jan 24, 2013 23:58:04 GMT -6
|
|
|
|
Post by 454guy on Jan 27, 2013 17:28:43 GMT -6
that looks very cool that's a real transformation
|
|
|
|
Post by Jet⚡Black on Jan 28, 2013 19:12:16 GMT -6
Thanks; the center stand is the only thing I haven't modified, it is going to get a heat resistant bumper type of attachment on the stand though, to lower it's resting position. It doesn't clear the belt clean enough as is. Oh and the rear belt hub, it's flat out stock just got cleaned up.
|
|
|
|
Post by Jet⚡Black on Mar 24, 2013 0:07:56 GMT -6
It's been awhile, no updates for now either...I am still working on seat business. I made a fiberglass pan and have the foam cut and material just need to stitch it up and fasten it to the pan, then the wiring. Cold weather keeps coming back every little chance it gets. I picked up another bike so this one is stalled a bit, been touching that up and swapping owner business, so I can ride while focusing on this build and other projects. I have also been asked to be a forum moderator on another site, so that's eating practically all of my online time. I need to get some better time management going and finish turning this thing out. I get asked if the springs hit anything...up top, from time to time. They clear the tank and everything else fine, They rest on nothing without the plastic rad cover business on the neck, but if that's on the spring barely touch the plastic cover in front of the tank when rested in full locked turn. I still swing through from time to time, I hope all of your projects are coming nicely.  Eagle stop trying to sell off all your stuff, get that old tukus moving, once you stagnate it makes it that much harder to keep moving...so get some exercise my friend |
|
|
|
Post by Jet⚡Black on Apr 9, 2013 7:48:34 GMT -6
|
|
|
|
Post by Jet⚡Black on Jun 24, 2013 4:56:08 GMT -6
|
|
|
|
Post by eaglerider on Jun 24, 2013 6:26:12 GMT -6
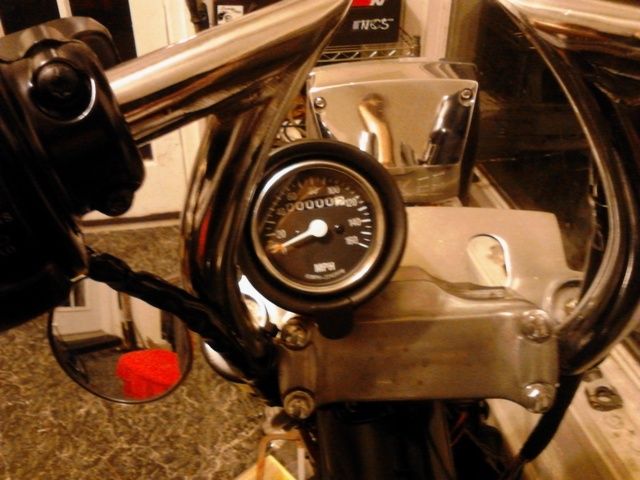
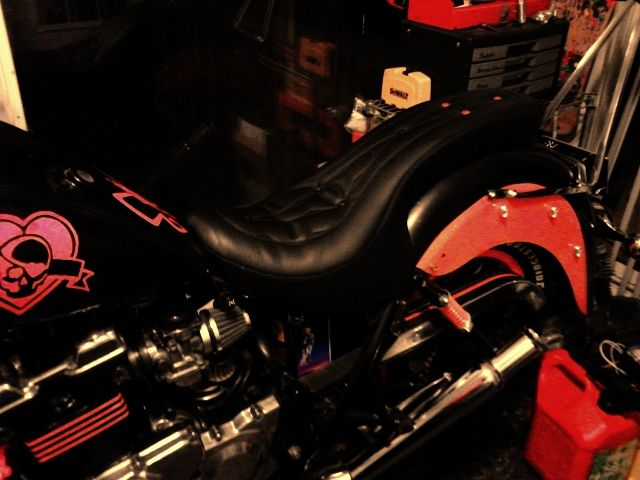
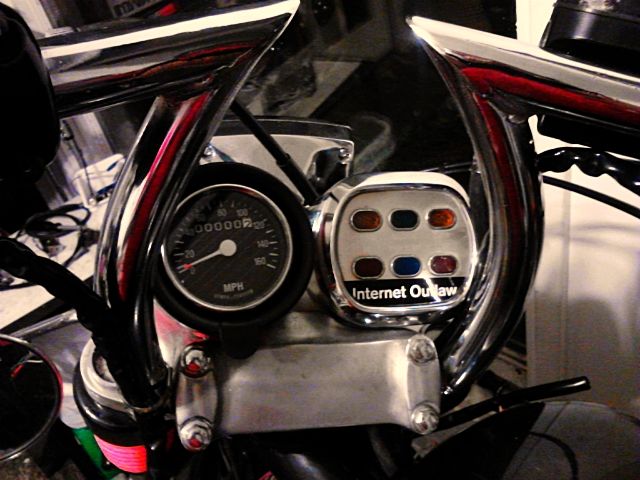
I like this seat better, and the idiot light pod is nice.
|
|
|
|
Post by Jet⚡Black on Jun 24, 2013 13:11:52 GMT -6
I like this seat better, and the idiot light pod is nice. Thanks Eagle, wish we lived closer I'd give you a hand getting yours squared. If any guys on this form live close to Eagle; give something back for all the help and lend a hand for a brother get his bike back up and on the road. One of my friends moved to Texas, if I get over there to see him I'll drop by and see what we can get done, once my bike is running I'm gonna be riding everywhere.  The seat I made from scratch; looked and fit alright, but wasn't very comfortable even with gel in the foam... comfort is more important and this one was is easy on my hips and low enough to plant my feet good and solid, the front tab slides under and it bolts in the rear making it good and solid. This idiot is liking the instrument cluster, knowing where the oil and coolant temp is, is especially nice. The blinkers are going to be manual, since our auto signal canceler timing is based off reading magnets in the stock speedo. So those lights will help remind me to shut them off, good for aging brains  |
|
|
|
Post by eaglerider on Jun 24, 2013 17:31:47 GMT -6
 U aint no idiot!! but know where u r coming from. GWK Jr. has inquired about one of the 454s I have...wants to build him up one...I'm sure he will have more help in his sister and dad than he would really want! LOL I can just hear Samantha (AKA Punky) telling him "get ur fingers off!!" like she did me a few years ago!! LOL Love that girl!!! !
|
|
|
|
Post by Jet⚡Black on Jun 30, 2013 22:11:20 GMT -6
Sounds cool, hopefully you'll get a chance to get back on two wheels on the process if you aren't already. I have a early EN500 swing arm waiting in the wings for when I need a new belt... might drop an EX500 motor in it at some point too; since there's 1000's of those motors out there. I read Savage guys mod their front belt sprocket with the 454's as a popular mod, so if those seem pretty scarce... that's why.I guess it's karma for all their missing shocks haha.
|
|
|
|
Post by zekkfett on Jul 1, 2013 9:03:58 GMT -6
I guess it's karma for all their missing shocks haha. This is the funniest thing I've heard all week!!   |
|
|
|
Post by Jet⚡Black on Jul 6, 2013 21:25:50 GMT -6
Sometimes times you have to wonder if that's whats going on with some hard to find parts. I know the EX500 guys buy our jugs and over bore them since they can't really go up on theirs much more... Hey EX guys missing a few cam chain tensioners?  It's a weird but interesting give and take though I guess. |
|
lamestlame
Junior Member
 So I am recovering from an accident I had on my ninja. More bonding time with my trusty ol 454 ;)
Posts: 220
|
Post by lamestlame on Jul 26, 2013 2:45:17 GMT -6
Did you have to make any mods for the z bar?
|
|
|
|
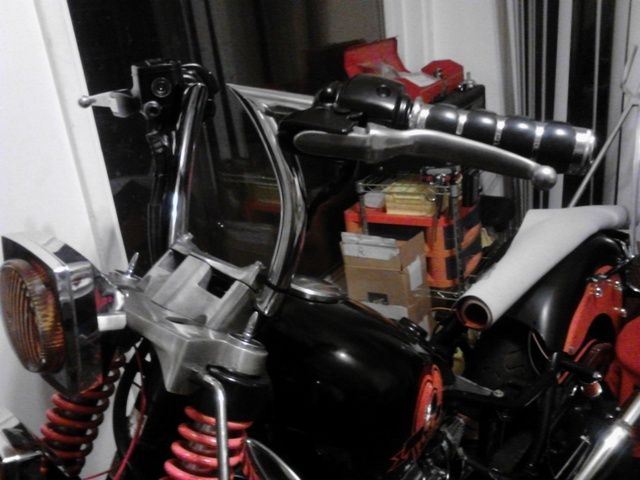
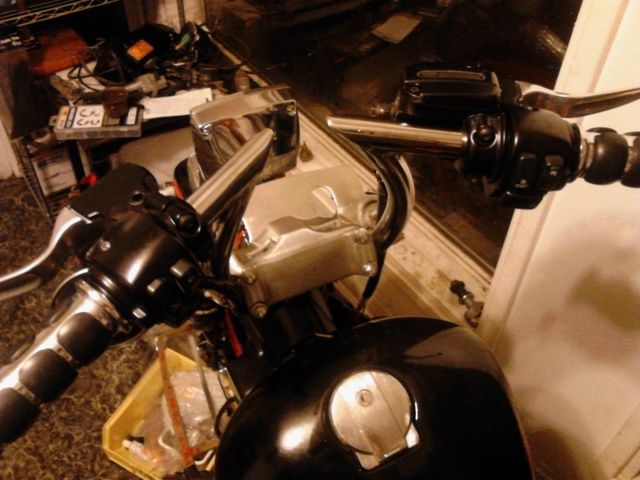
Post by Jet⚡Black on Jul 27, 2013 7:54:17 GMT -6
Did you have to make any mods for the z bar? The keystone bars are 1" so the stock upper triple tree that's 7/8's wont work with unless you bore them out to an 1" then you have to get 1" controls etc. My upper tree is off of an early Vulcan EN500 same fork diameter no mods needed it bolts right up. The controls are the biggest thing of concern, you have to wire them up, and fit the cables. But if you get EN500 controls too, you're gonna cut a lot of work out of it. The original controls I purchased where for a EN500 seller had issues getting them to me, so I figured I'd just get Harley ones instead, in hind sight its what led to my burn out on this build. Having to mess around with control business. But if you do go with Harley controls like I have, I'll be happy to share my notes since blazing the trail on it in the dark on my own, needed a lot of things solved there were no answers for. All of the switches are wired up and working, the push pull holes for the cables had to be drilled larger to fit, the little bracket for the dual cables needed to be bent a little... the bolt to fasten it took care of that fine on it's own. A Harley clutch cable will not work, if any one isn't familiar Harley uses a large pin on the clutch cable. To solve that I got a plastic clutch pin, drilled down into the pin the same diameter as the cable end, cut a lengthwise notch halfway down the side of the pin the width of the cable then sunk the stock cable into the pin, and put the 454 cable adjuster on it. A lot more modding than expected but it all works great now, but having to do it all over again... I'd just buy the EN500 controls like I did at first and not go the Harley route. They are nice controls and levers in the end. But as said if you want to rock them, the bars are easy, it's the controls that take some work, but I'll share wiring etc. to save all the headaches, if anyone wants to go the Harley control route. I'd suggest finding some 7/8 bars in whatever design you want, that setup should be a bolt right on. If you want 1 inch bars and different controls with a little more class(metal), then early EN500 upper tree and it's controls too since those are all 1" they should be plug and play no mods needed. |
|
|
|
Post by eaglerider on Jul 27, 2013 13:25:26 GMT -6
The Vulcan 500 (EN500) controls for the 1" bars are wired different, and since I am no "wiring figure-outer", I carefully "modified" my 454 7/8" controls to fit the 1" bars. O...My "front end" is complete 94 Vulcan 500, and so are both front & rear wheels. The 94 had an EX (Ninja) engine in it, and, of course, it resides in my bike, too. Just a little info for the "new" members that have come aboard....sadly, it needs some "attention" and has not been on the road in awhile. |
|
lamestlame
Junior Member
So I am recovering from an accident I had on my ninja. More bonding time with my trusty ol 454 ;)
Posts: 220
|
Post by lamestlame on Jul 28, 2013 4:04:34 GMT -6
Would boring them out be a good way too?
|
|
|
|
Post by eaglerider on Jul 28, 2013 7:43:46 GMT -6
That's what I did...with a dermal, I very carefully enlarged the switch housings a little at a time, trying the fit in between. They are not perfect, as there is just a tiny bit of space between the halves, but work fine. O, the choke control must be enlarged slightly, also.
|
|
lamestlame
Junior Member
So I am recovering from an accident I had on my ninja. More bonding time with my trusty ol 454 ;)
Posts: 220
|
Post by lamestlame on Jul 28, 2013 13:21:25 GMT -6
I can't decide between Z's or Drag bars. The stock bars are just uncomfortable when making a sharp corner which I love to do.
|
|
|
|
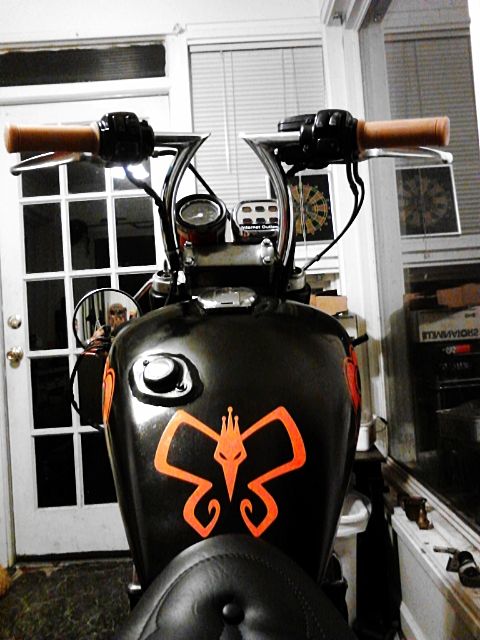
Post by Jet⚡Black on Jul 28, 2013 17:32:10 GMT -6
The Fonzie bars on it will put you elbows in your ribs a lot, find some that are 7/8 not modding needed.
On another note this happened today:
|
|
|
|
Post by eaglerider on Jul 29, 2013 6:08:17 GMT -6
|
|
|
|
Post by Jet⚡Black on Aug 2, 2013 20:59:50 GMT -6
The idle knob had no tension, so throttling was required to start and stay running, starting and idling fine figured a better video was in order, basic idle and rolling under its own power for the first time a little. A couple more weeks and it'll be on the road, most of that is going to be dealing with taxes and the DMV. Brake light issue... running wire and brake light wire were flipped. P.S. avoid pants that are pleated in the front...
|
|
|
|
Post by eaglerider on Aug 3, 2013 5:00:04 GMT -6
Much better...sounds like it oughtta!!!!!!!
|
|
|
|
Post by Jet⚡Black on Aug 9, 2013 2:58:04 GMT -6
That's nice to hear I was considering throwing the tach on there, so I can get an mental snap shot of what the correct RPM's are supposed to sound like. Got the other parts in today, was working on installing a badlands turn signal cancel unit, and caught sight of something out of the corner of my eye. Investigated and the right hand pod was soaked with gas and slowly dripping. Hooked a clear hose to the drain opened it and checked the level on the outside it came up past the bowl by about 3mm. So the auto cancel unit had to wait. Since I switched out the carb fasteners with cap heads it was kinda easy to just drop the bowl, instead of just removing the carbs. The little float needle pin that's spring loaded was super easy to depress felt like the internal spring was worn out. I had another one in my box of carb parts swapped it out, buttoned it up, drain hose checked the float level, was sitting right where it should be no leaks, so I'm keeping my fingers crossed that was the issue, really don't want to take the carbs off right now So close to finally riding it. Which means it'll probably be another month haha. |
|
|
|
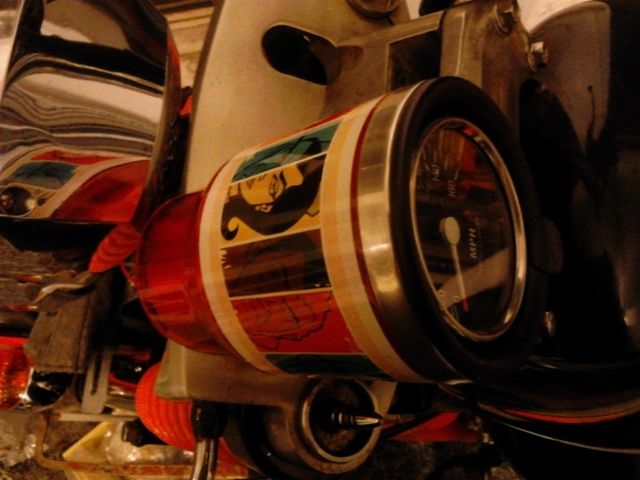
Post by Jet⚡Black on Aug 23, 2013 18:12:21 GMT -6
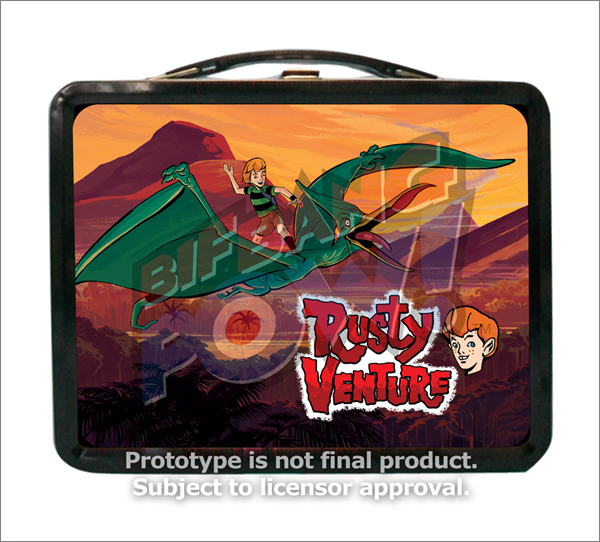
Alrighty, this bugger is taxed tagged, titled and road ready. Need to drain the shake down oil, put in some fresh, gauge is working great... loud as all sunset. Took it for a run yesterday right before the 5 mile mark, the wire bundle jumped the box and went into the rear tire, I was able to get it back home before it shart the bed. Fixed the wiring and put the rear splash guard for the tire on the keep that shart from possibly getting at it again and reworked the electronics area. This is the last update on the Wabi Saki / Venture Brothers tribute project, time to call it canned. It may be for sale or trade for the right offer in the not too distant future. I Need to finish up the paint details but that's pretty much it. Here's a walk around light show. Before: 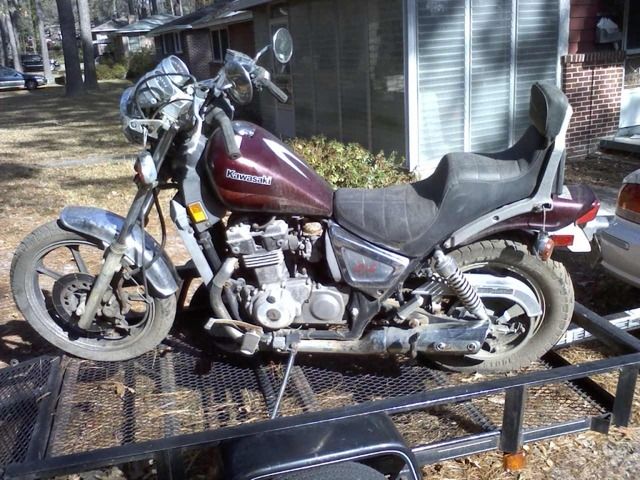 |
|
|
|
Post by Jet⚡Black on Oct 9, 2013 9:51:32 GMT -6
I got a PM about my seat, after typing a reply I figured I'd share in case anyone else was curious or wanted to mount something similar... the same process can be used for any metal panned seat just make sure the pan is long enough to fit from tank lip to fender after it fits the frame, so bend the tape measure down from the front edge of the tank mount along the frame curve to where you want the seat to end, otherwise you may come up short, bear in mind many people measure a seat they are selling without the curve added in so the pan is a few inches longer than stated most times.
Here's the reply for what it is and making it fit the 454:
It was meant to go on a Shovel the style that seat type is, is called a king cobra, I believe it was made either by corbin or drag specialties in the late 70's or early 80's, they don't fit the 454... but can be made to rather easily, if it has a metal pan. The seat cover on it was riveted so I drilled out all the rivets, stripped it to the bare pan put the pan on the frame, then beat the absolute heck out of it until it conformed to fit the frame, then pop riveted the foam and cover back on it. While beating it out you want to keep the front lip center of the gas tank and work on the back of the seat are on the frame, the queen part will bend upwards towards you, never mind that... just get the rear of the pan where you sit fitting the frame first. Once thats done you can put your foot on the pan part you just fit to the frame push back on the queen part while hammering it, you can bend it by hand... but hammering it out will make it smooth, bending by hand can cause a crease once thats smooth then focus on hammering the front and edges to conform to the frame make sure the tank is on so you can center around the lip and make it sit flush, the front tab on the seat pain will slide under the tank mount you may have to bend it a little if your front tab is to close to the pan to slide under all of that, but yeah once the pan fits the frame and fender etc like a glove, just pop rivet it back together.
You'll need a rear tab to hold the queen part down to the fender, drill a couple holes and pop rivet that to the pan after its all back together then push it flat on the fender making sure it's exactly centered from front mount to center of fender then mark through the mount hole, onto the fender, this will be where to drill for the rear mounting, make sure to put a rubber gasket of some sort... under that mount so it doesn't mar the fender or paint when you bolt it down. Cutting a piece of old inner tube is fine for a rubber gasket if you have some laying around.
That's exactly how I made mine, I know it sounds intensive but it took less than 2 hours from drilling out the rivets to being mounted up, with all parts on hand.
|
|
|
|
Post by jtrain944 on Nov 19, 2013 19:19:18 GMT -6
hey new to the group was wondering if you could post some pictures of your fuel line going to the carbs?
the bike looks amazing also makes Harley
look like a play toy
|
|
|
|
Post by Jet⚡Black on Jan 8, 2014 0:06:14 GMT -6
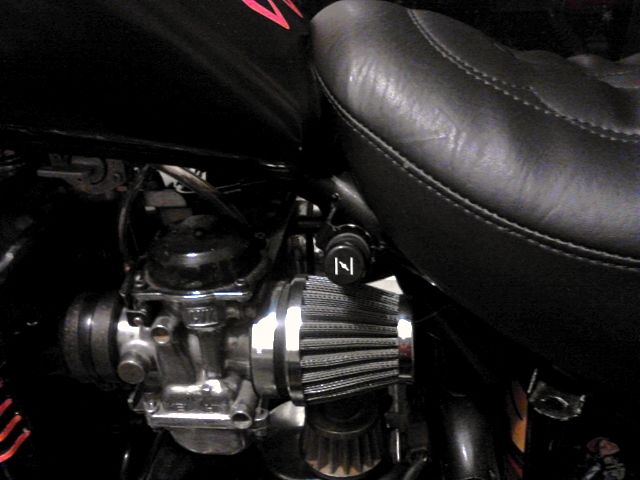
Sorry for the late reply; Thanks. I don't make it over here all that often... Fuel line routing, the bottom T between the carbs is where the one from the tank goes, the upper T between the carbs is just a drain hose, be sure to not have the upper hose near the air intake or else they will start pulling a vacuum on the carbs creating performance issues. The vacuum barb from the pet goes to the upper left carb vacuum port, and the right side is blocked off with a rubber nipple many auto parts store have them... vacuum plug I believe is what they are called. That set up is typical for ditching the emissions crap, where you cap the reed valves with plates on top of the motor as well, a company called lampone I believe sells block off plates for the mod.
I guess I'll use this post as an update as well, I moved from SC to NC the Butter Glider as it has been getting called has been fun so far, no major issues... the tail light mounting bracket that came with the fender snapped off on a 50 mile run with a buddy, got back to his house and saw it dangling temp tied it on, and got back home made a new bracket so strong I could stand on the rear tail light/blinker section if need be. The rad hose got a hole, honestly it looked like someone stabbed the bottom of the hose with a small knife... being winter that wasn't an issue since it doesn't get above 150 degrees when riding the thermostat never opened to make it lose all the coolant, so I replaced that... the fork wipers were leaking so I put some new ones on and lowered the forks about 2 inches because as we all know how fast this sucker is, it's hard to tuck in with them all the way up in the trees and accelerate without the front end lifting or feeling like a feather, so dropping them a tad has made the frame basket level and made it feel more stable, I've had it up over 100 by accident... there's a constant stream of cars out in front of my NC property all going 65 or better most of the time so if you don't wanna wait forever you have to pull out get on it.
The speedo died on me at about 350ish miles on the clock, I have yet to replace that, and I took the sissy bar off, but it's been a fun bike, and great performance thus far, I'm currently gathering parts and planning out a CM185 when I get it finished I'll drop in a picture of it incase anyone wants to see that, I'm still trying to figure out if I want to go shorty shocks or make it a rigid, I don't like sprung seats, and at my age and back issues a rigid isn't exactly a bastion of comfort to ride on, it'll beat the heck out of you too much.
|
|


 U aint no idiot!! but know where u r coming from. GWK Jr. has inquired about one of the 454s I have...wants to build him up one...I'm sure he will have more help in his sister and dad than he would really want! LOL I can just hear Samantha (AKA Punky) telling him "get ur fingers off!!" like she did me a few years ago!! LOL Love that girl!!!
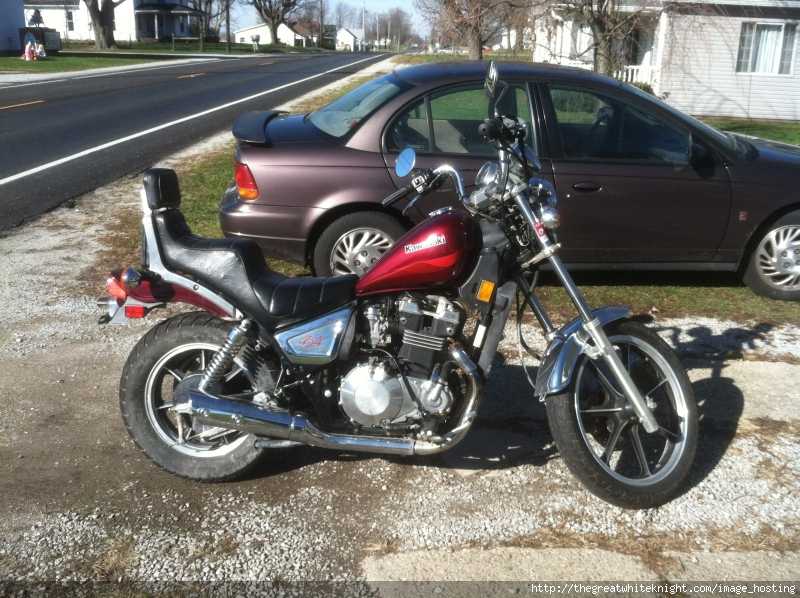


 It's a weird but interesting give and take though I guess.